Getting Started
STEP 4
Frenzy works with the shared folders feature of Dropbox.
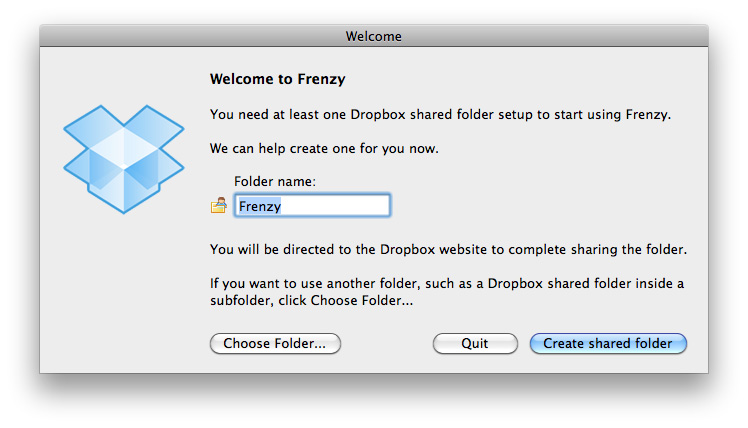
When you launch Frenzy for the first time, if you don't have any shared folders setup, you'll be presented with the following dialog:

If you wish, you can change the name of the shared folder to be created. For example, if you were planning to share things with your family, you might call the folder 'Family'
You can then click Create shared folder.
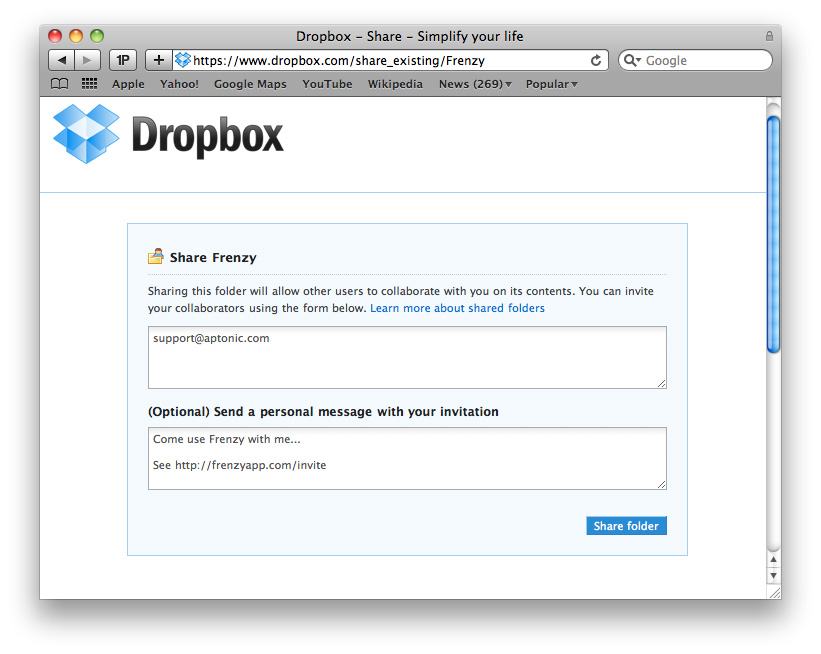
Frenzy will open a web browser and direct you to the Dropbox website. You may be asked to login to Dropbox first. You will then see the below page:

You should enter the email address of the person you wish to use Frenzy with. If you want, you can invite multiple people by entering multiple email addresses, each separated by a comma.
In the personal message box, it's a good idea to include the URL http://aptonic.github.io/frenzy/invite - this is a special URL we have setup that links to a guide much like the one you're reading now that helps your friends get setup with Frenzy.
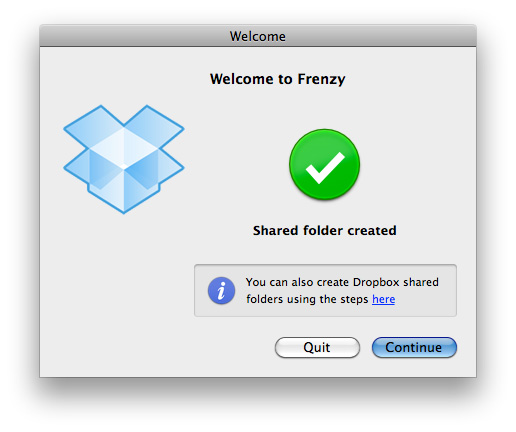
Once you've filled in the fields, click Share Folder. The below dialog should appear:

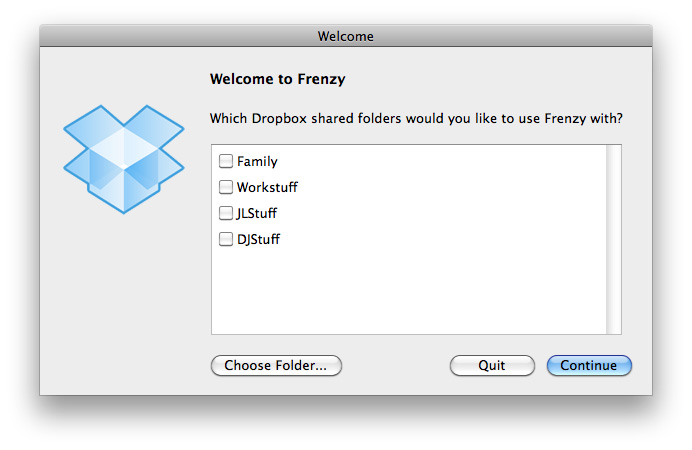
Everything above only applies if you don't have any shared folders setup. If you already have one or more shared folders setup, Frenzy will automatically detect them and you will instead see the below dialog:

You should tick the shared folders you wish to use Frenzy with and click Continue. If you need to create a new shared folder, you should quit Frenzy, create a shared folder using the steps given here and then relaunch Frenzy.
This list will not show shared folders that are in subfolders. To use Frenzy with a shared folder that is in a subfolder, click Choose Folder...

